Dreaming of a lush, green lawn without the constant mowing, watering, and fertilizing? Installing artificial turf is the answer! This comprehensive guide breaks down the entire process of artificial turf installation, from initial planning to final grooming, ensuring you achieve a beautiful and low-maintenance lawn you’ll love. Let’s dive in!
Planning Your Artificial Turf Project
Before you even think about digging, careful planning is essential. This step determines the success and longevity of your artificial turf installation. Start by measuring the area where you intend to install the turf. Consider the shape and any obstacles like trees, flowerbeds, or walkways. Based on the measurements, sketch a design of how you want the turf to lay, paying attention to seam placement for a seamless look. Next, establish a budget that includes the cost of the turf, base materials, tools, and potentially professional installation. Choosing the right type of turf is crucial too. Consider factors like pile height (longer blades for a softer feel, shorter for durability), color, and whether it’s pet-friendly.
Preparing the Area for Installation
Preparing the area is the most labor-intensive, yet vital part of the installation process.
- Removing Existing Grass & Debris: Start by completely removing existing grass, weeds, rocks, and any other debris from the designated area. A sod cutter can be helpful for removing large areas of grass.
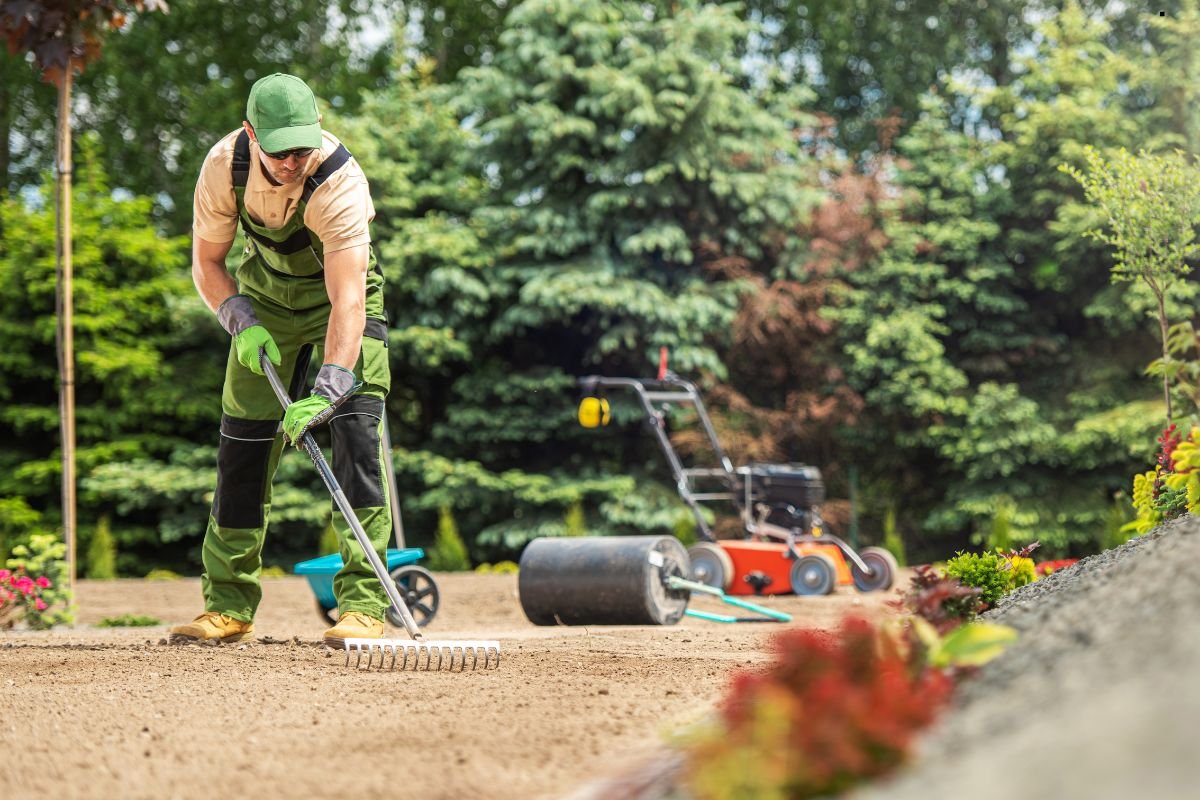
- Grading and Leveling the Ground: Use a shovel and rake to grade the area, ensuring a slight slope away from your house for proper drainage. Use a level to check for uneven spots and fill them in with soil or sand. The goal is to create a smooth, even surface.
- Installing a Weed Barrier: Once the ground is leveled, lay down a high-quality weed barrier fabric to prevent weeds from growing through your artificial turf. Overlap the edges of the fabric and secure it with landscape staples.
Installing the Base Layer
The base layer provides a stable foundation for your artificial turf, ensuring proper drainage and preventing shifting.
- Aggregate Base Options: The most common base material is crushed aggregate, such as Class II road base or decomposed granite. Choose an option that compacts well and provides good drainage.
- Compacting the Base: Spread the aggregate evenly over the weed barrier, aiming for a thickness of 3-4 inches. Use a plate compactor to compact the base thoroughly. This step is crucial for creating a solid and level surface. Multiple passes with the compactor may be necessary.
Looking for a lush, green lawn without the hassle of constant watering and maintenance? A turf project might be the perfect solution! But where should you start? This guide covers everything you need to know about assembling your turf project material supply list in Austin, TX, ensuring a smooth and successful transformation. From selecting the ideal turf type to finding the best local suppliers, we’ll walk you through each step.
For an in-depth breakdown, check out our previous blog:Turf Project Supply Guide .
Laying and Securing the Artificial Turf
Now for the exciting part – laying the turf!
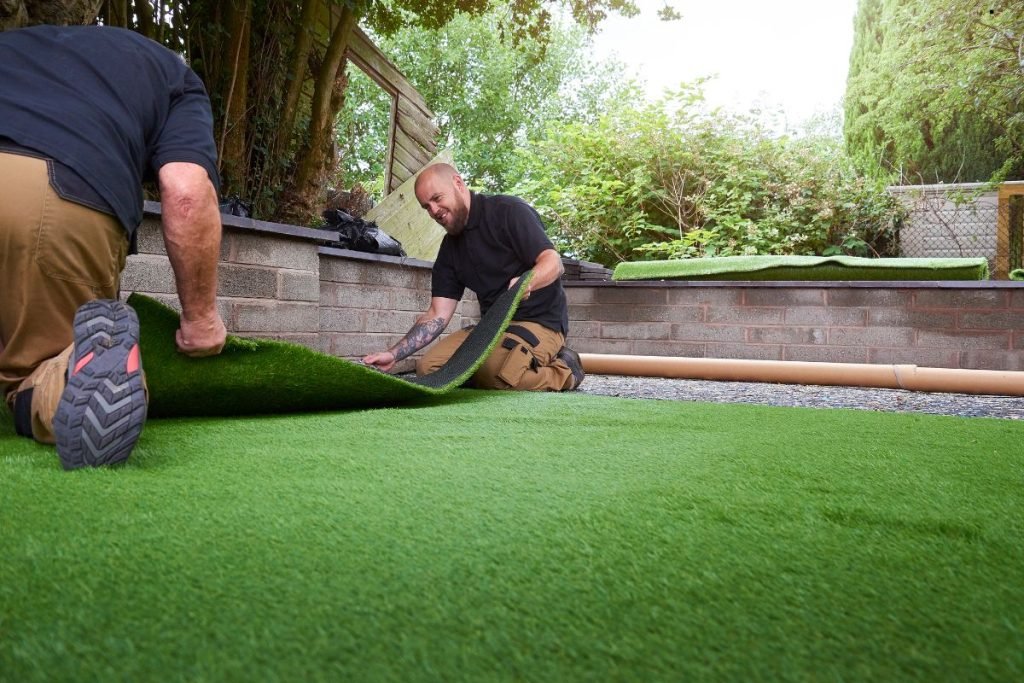
- Unrolling and Positioning Turf: Carefully unroll the artificial turf rolls over the prepared base. Allow the turf to acclimate to the temperature for a few hours before securing it. This will help prevent wrinkles and shrinkage.
- Seaming Turf Sections: If you have multiple turf rolls, carefully align the edges and use specialized seaming tape and adhesive to join them together. Ensure the seams are tight and virtually invisible.
- Securing Turf Edges: Secure the turf edges along the perimeter using landscaping staples or nails, placing them every few inches to keep the turf tight and wrinkle-free. Need help? Call us today!
Adding Infill (if applicable)
Infill helps the artificial turf blades stand upright, provides cushioning, and adds weight for stability.
- Types of Infill: Common infill options include silica sand, crumb rubber, and zeolite. Silica sand is affordable and provides good drainage, while crumb rubber offers better cushioning. Zeolite is a natural option that helps control odors.
- Applying Infill Evenly: Use a spreader to evenly distribute the infill over the turf surface. Brush the infill into the turf fibers using a stiff-bristled broom or a power brush. Repeat the process until the desired infill level is achieved.
Grooming and Finishing Touches
A few finishing touches will elevate the look of your new lawn.
- Brushing the Turf: Use a stiff-bristled broom or a power brush to brush the turf fibers upright, giving the lawn a natural and plush appearance.
- Final Inspection: Inspect the entire lawn for any imperfections, such as loose edges or uneven infill distribution. Make any necessary adjustments to ensure a perfect finish.
Maintenance Tips for a Long-Lasting Lawn
Proper maintenance will keep your artificial turf looking its best for years to come.
- Regular Brushing & Cleaning: Regularly brush the turf to keep the fibers upright and remove debris. Rinse the lawn with water to remove dust and dirt.
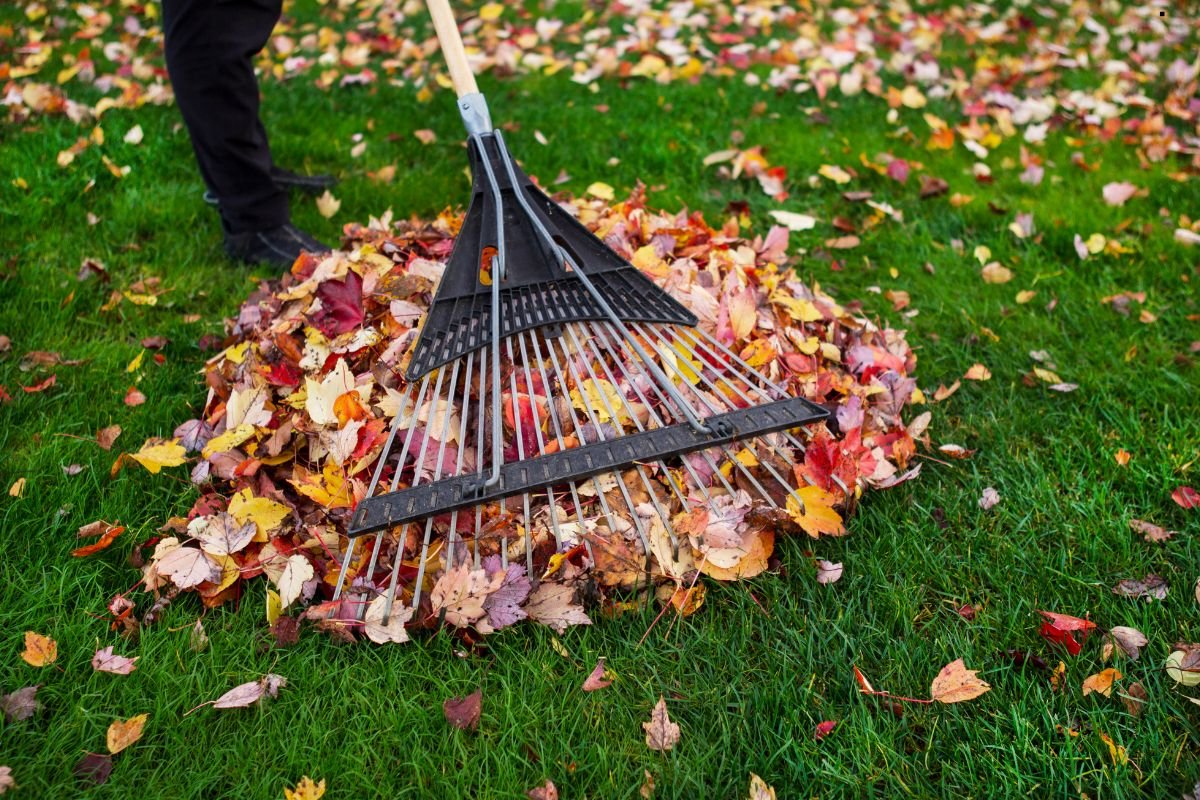
- Removing Debris: Remove leaves, twigs, and other debris promptly to prevent them from matting down the turf fibers.
- Addressing Pet Waste: Clean up pet waste promptly and rinse the area thoroughly with water. Consider using an enzymatic cleaner to eliminate odors.
Cost Considerations for Artificial Turf Installation
Understanding the cost of artificial turf installation is vital for budgeting your project. Factors influencing the price include:
- Material Costs: The quality and type of turf significantly impact the cost. Higher pile heights and denser materials are more expensive. Infill material also contributes to overall expenses.
- Installation Costs: Professional installation can range widely depending on the project’s complexity, the area’s size, and labor rates.
- Preparation Costs: Removing existing landscapes, leveling the ground, and ensuring proper drainage add to the initial investment.
A detailed cost breakdown ensures transparency and prevents unexpected financial burdens.
DIY vs. Professional Installation
Choosing between DIY and professional installation depends on your skills, time, and budget. DIY saves money but requires effort, while professional installations provide expertise but cost more.
- DIY Pros: Cost savings, satisfaction of a self-completed project.
- DIY Cons: Time-consuming, physically demanding, risk of mistakes leading to added expenses.
- Professional Pros: Expertise, efficiency, warranty-backed work.
- Professional Cons: Higher initial cost, reliance on contractor availability.
Selecting the right approach ensures your artificial turf project aligns with your needs and capabilities.
Don’t have time for DIY? Let our skilled professionals handle your turf installation flawlessly! Call Us
Frequently Asked Questions (FAQs)
How long does artificial turf last?
With proper maintenance, artificial turf can last 15-20 years or more.
Is artificial turf safe for pets and children?
Yes, high-quality artificial turf is non-toxic and safe for pets and children. Look for products that are lead-free and hypoallergenic.
Does artificial turf get hot in the sun?
Artificial turf can get warm in direct sunlight. Consider using infill materials that help reduce heat, such as evaporative infills.
Do you have any questions? Speak to our experts now and get all your concerns addressed.
Conclusion
Artificial turf installation is a fantastic way to achieve a beautiful, low-maintenance lawn that enhances your outdoor living space. By following this comprehensive guide and considering factors like planning, preparation, installation, and maintenance, you can enjoy a perfect lawn for years to come. Whether you choose the DIY route or opt for professional installation, the result will be a vibrant and inviting outdoor oasis that saves you time and money in the long run. Get ready to ditch the lawnmower and embrace the beauty and convenience of artificial turf! Contact Us to start your artificial turf transformation today!